Hi Everybody! Today we will learn how to make a simple duct tape wallet. Enjoy!
Tools:
Scissors
Duct Tap
Step One:
Cut 4 Strips of duct tape. How long these strips are is how long your wallet will be. For best results, make these strips a little bit bigger than a dollar bill.
Step Two:
Overlap the strips together to make a sheet of duct tape.
Step Three:
Now flip the sheet over so the sticky side is facing up.
Step Four:
Repeat steps one and two again. After this, you should have two sheets of duct tape, at about the same size.
Step Five:
Stick the sticky sides of the sheets together.
Step Six:
Cut two thin pieces of duct tape.
Step Seven:
Fold the non-sticky sheet (the ones you just combined) hotdog wise.
Step Eight:
Take the two thin pieces of tape and put them around the sides of your wallet.
Step Nine (optional):
Add a Duct Tape Wallet Pocket. To learn how to do this, look at one of my other posts.
Step Ten: Tada! You've got yourself your own wallet!
Remember...
Have fun with your stylish wallet! And make sure to tell me what you want me to do a tutorial for in the comments below. Thanks!
Awesome Crafts for Kids
Sunday, September 20, 2015
How to make Duct Tape Phones
Hi! Today we are going to learn how to make a duct tape phone.
Tools:
Scissors
Duct Tape
Card Stock (Old Business cards work great!)
And some creativity!
Step One:
Take a stack of card stock, as thick as you want it.
Step Two:
Wrap the stack in one style of duct tape.
Step Three:
Make a screen with a another style of duct tape.
Step Four (optional):
Make a keypad by cutting up small pieces of tape and placing them below the screen.
Step Five:
Viola! Perfect for a prop or for your child to play with.
Remember...
Have lots of fun with your new "phone"! And make sure to tell me what you want me to do a tutorial for in the comments below. Thanks!
Sunday, February 23, 2014
Ducktape wallet pocket
| We will be making a pocket for any kind of duct tape wallet. | |
| Cut two pieces of duct tape that is a little bit smaller than the wallet. put them together so it is not sticky. | |
| Now cut out 3 thin pieces. | |
| Place the double layered piece on to the wallet. Then put one of the thin pieces on the bottom of the double layered piece. | |
| Put the last two thin pieces on the sides and... TADA! |
Friday, February 14, 2014
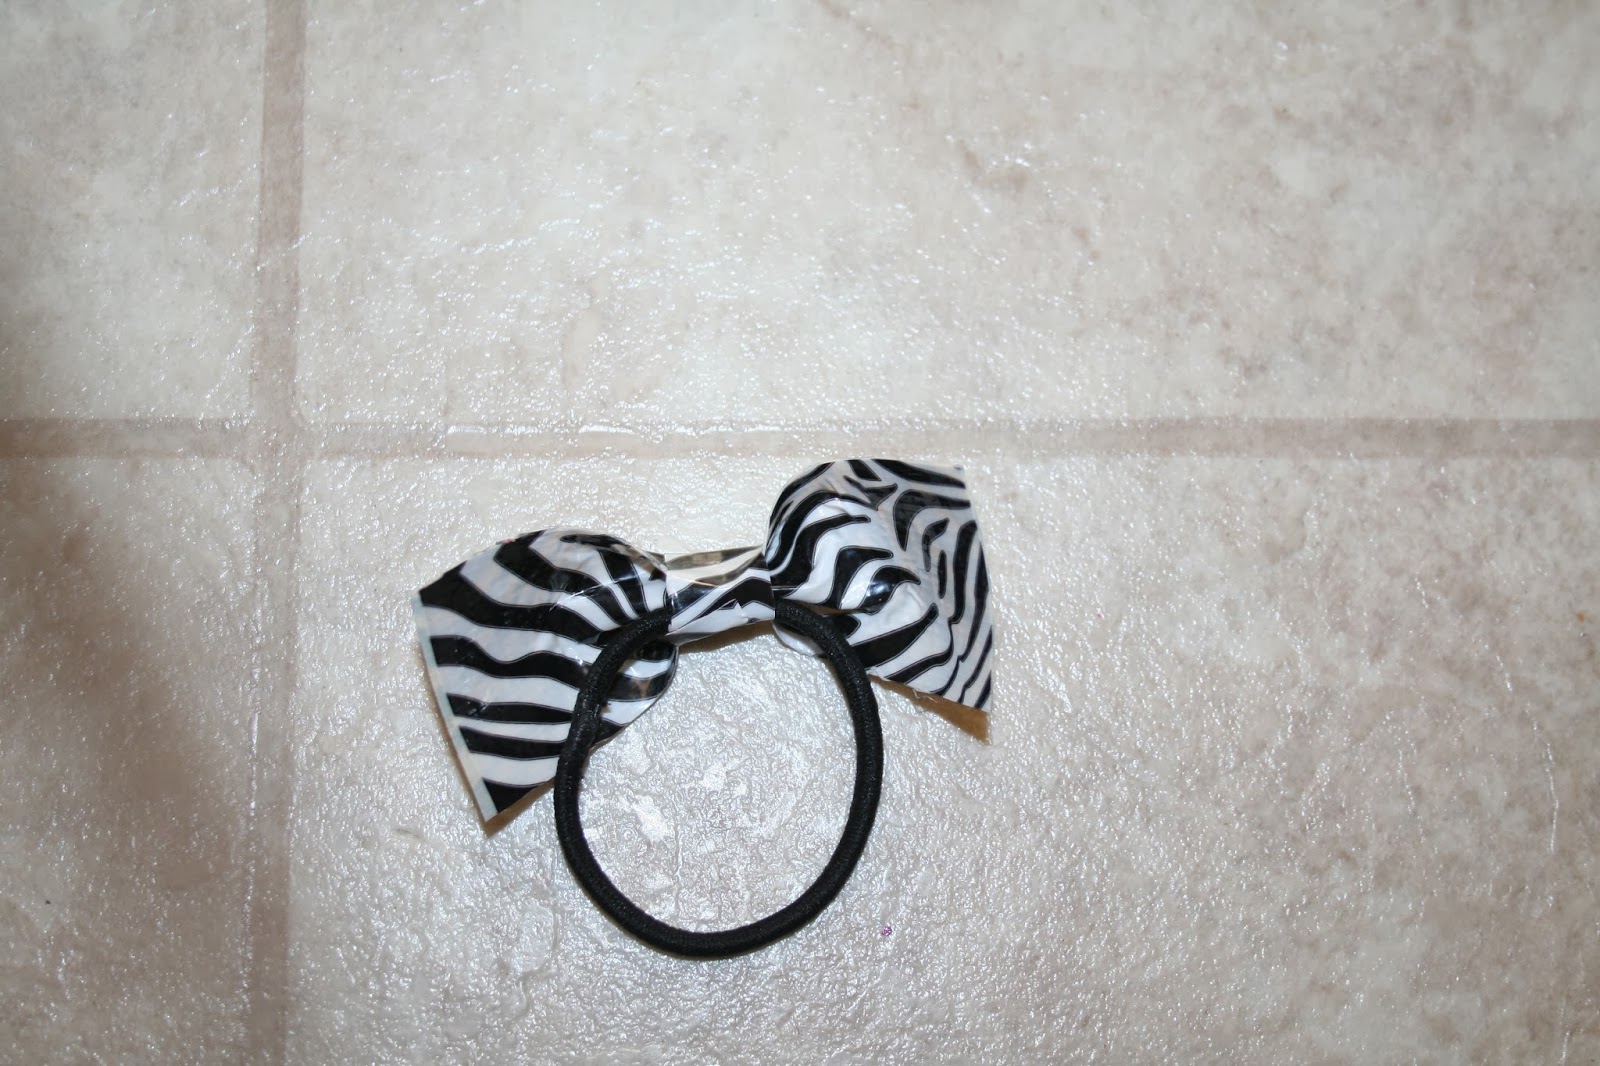
Duct Tape Bow Hair Tie
| We are going to make a duct tape bow hair tie. | |
| Materials: - Duct tape - Scissors - Hair tie | |
| Measure two 4 inch pieces of duct tape. | |
| Flip 1 piece of duct tape over so you can see the sticky side of it. | |
| Put the other piece of duct tape on top of the 1st piece so that the sticky sides are on the inside. | |
| Cut off the sides a little bit if the duct tape did not match up. | |
| Measure a 1 inch piece of duct tape. | |
| This is what you should have ( plus the hair tie). | |
| Pinch the middle of the duct tape. | |
| This step is the hardest. Fold the ends of the pinch back. | |
| Put the 1 inch piece of duct tape around the center of the bow. In the back put the hair tie in between the bow and the 1 inch piece of duct tape. | |
| It should look like this. | |
| Now put it on your wrist or in your hair and... TADA!!!!!!!! |
Thursday, February 13, 2014
Duct Tape Bookmark
We are going to make a duct tape bookmark.
|
|
Materials
- Scissors
- Large Paper Clip
- Duct Tape
|
|
Measure 3 inches of any kind of duct tape and cut it out.
|
|
Put the duct tape on the top of a paper clip.
|
|
Turn it over so you see the sticky side of the duct tape. Then fold it down.
|
|
Cut off the sides a little bit but not too much.
|
|
Cut a V at the top.
|
|
Now put it in a book and...
TADA!!!!!!
|
Subscribe to:
Comments (Atom)


.JPG)
.JPG)
.JPG)
.JPG)
.JPG)
.JPG)
.JPG)
.JPG)
.JPG)
.JPG)
.JPG)
.JPG)
.JPG)
.JPG)
.JPG)

.JPG)
.JPG)
.JPG)


